

What to Do If Your Roof Is Leaking During Heavy Rain
May 22, 2026
When heavy rain hits unexpectedly and water starts entering the home through the ceiling, walls or light fittings, the situation can quickly become overwhelming. Fast and informed action is critical to reduce damage, protect occupants and stop moisture from spreading deeper into the structure. Leaks that appear minor during a storm can also point to larger roofing issues developing beneath the surface, especially in homes exposed to heavy summer downpours, wind-driven rain and coastal conditions.
In this guide, CBT Roofing explains what homeowners should do when a roof starts leaking during heavy rain, including how to respond safely, what temporary steps can help minimise damage and when roof repairs on the Sunshine Coast may be needed. Knowing what to do in the first few minutes of a roof leak can help reduce damage and keep the household safer until conditions are clear enough for a proper inspection.

When water suddenly starts coming through the ceiling during heavy rain, it is important to act quickly and in the right order. The first priority is protecting people and belongings, then limiting water damage inside the property while keeping safety in mind at every step.
The initial response should focus on controlling the water that is already inside the home, not trying to repair the roof during the storm. Temporary steps can reduce damage until conditions are safe and a professional inspection can be carried out.
Start by moving people away from any area where water is actively dripping or pooling. Ceilings that are sagging, bubbling or heavily stained may be holding a significant amount of water and could partially collapse without warning. Avoid standing directly under these areas.
Move furniture, electronics, rugs, soft furnishings and valuable items away from the affected area as quickly as possible. If heavy furniture cannot be moved, cover it with plastic sheeting, large rubbish bags or waterproof covers to limit water damage. Unplug and remove electrical devices nearby, including lamps, extension leads and chargers.
If water is coming through a light fitting, ceiling fan, smoke alarm or power point, do not touch the fixture and do not use the switch. Turn off the power to the affected circuit at the switchboard if it can be done safely, then keep clear of the area until it has been checked by a qualified professional.
Once people and belongings are safe, focus on capturing and redirecting the water. Place buckets, bowls or large containers directly under active drips. Put an old towel or cloth at the bottom of each container to reduce splashing. Lay towels or mops around the base to absorb any overflow.
If the ceiling is bulging with trapped water and it is safe to access the area, carefully relieve the pressure. Position a bucket underneath, then use a screwdriver or nail to create a small, controlled hole in the lowest point of the bulge so water can drain into the container. This can help prevent a sudden, uncontrolled ceiling failure.
Use towels, mops or a wet vacuum to remove standing water from floors as quickly as possible. This helps reduce the risk of timber flooring warping, carpets staining or moisture moving into skirting boards, wall cavities and lower levels.
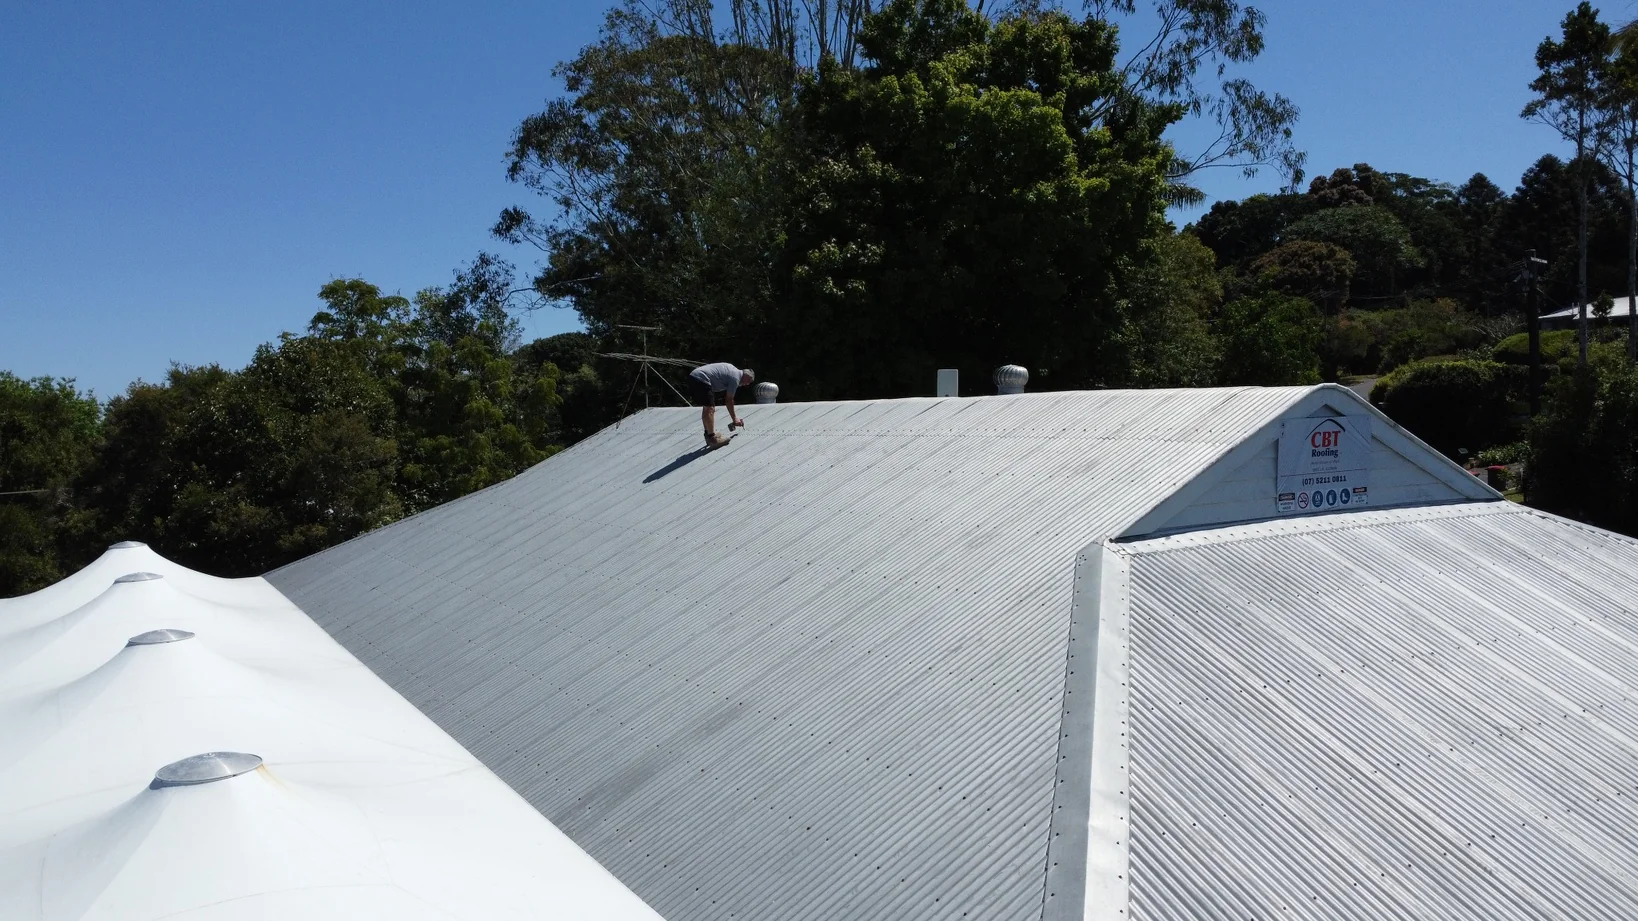
Climbing onto a wet roof during heavy rain is extremely dangerous and is rarely effective as a first response. Roof tiles, metal sheeting and ladders become slippery in wet and windy conditions. The initial assessment should be done from inside the property and from ground level outside only if it is safe.
From inside, note where the leak is appearing, such as near a skylight, along an exterior wall, close to a ceiling fan or in the middle of a room. This information can help a roofer trace the source later. From outside, use a torch and look from ground level for obvious issues such as displaced tiles, lifted metal sheets, blocked gutters, fallen branches or debris around roof features. Do not climb ladders in high wind, heavy rain or poor visibility.
When a roof begins leaking during heavy rain, the priority inside the home is to limit how far the water spreads and how deeply it penetrates building materials. Quick action can reduce repair costs and help prevent mould, staining and hidden moisture damage later.
Once the immediate leak is contained, the focus should shift to protecting surfaces, improving airflow and documenting the damage. This is especially important on the Sunshine Coast, where high humidity can slow drying and increase the risk of mould growth after storms.
Water that reaches the floor can quickly spread into carpets, timber flooring, laminate joins, skirting boards and wall cavities. Place towels or absorbent cloths around the leak area to soak up splashes and minor pooling. For timber or laminate floors, use plastic sheeting beneath towels where possible to reduce water seeping between boards.
Remove rugs, cushions, curtains and small furniture from the affected area. Soft furnishings absorb moisture quickly and can develop odours or mould if they remain damp. Larger furniture that cannot be moved should be lifted slightly off wet flooring if practical and covered with plastic to prevent further soaking.
Check nearby walls for bubbling paint, damp patches or water tracking down from the ceiling. These signs may indicate that water is moving behind plasterboard or through the ceiling cavity, not just dripping from one visible point.
After the worst of the leak is controlled, encourage drying where it is safe to do so. Open internal doors to improve air movement through the room. If the weather eases and it can be done without letting in more rain, open windows slightly to help moisture escape.
Fans and dehumidifiers can help dry surfaces once electrical safety has been confirmed. Do not plug appliances into wet areas or use power points that may have been exposed to water. If there is any doubt about electrical safety, wait for a licensed electrician before using powered drying equipment.
Drying should begin as soon as possible, but surface drying does not always mean the structure is dry. Wet insulation, ceiling cavities and wall linings can hold moisture long after the visible water has been cleaned up.
Before moving too much around, take photos of the leak, damaged ceilings, wet flooring, affected furniture and any visible roof issues from ground level. This can help with insurance claims and provide useful information for the roofer.
Keep notes on when the leak started, how long it continued, where the water appeared and whether it worsened during heavier rain or wind. Mention any recent storm damage, overflowing gutters, falling branches or previous roof repairs. These details can help identify whether the leak was caused by damaged roofing materials, blocked drainage, failed flashing or another issue.
When a roof starts leaking in the middle of a heavy storm, it is natural to panic or try to fix the problem immediately. However, certain reactions can make the situation more dangerous or cause more damage than the leak itself. Knowing what not to do is just as important as taking the right emergency steps.
The priority during severe weather is safety first, then limiting damage in ways that do not put anyone at risk.
Climbing onto a wet roof during heavy rain is extremely dangerous. Roof tiles and metal roofing become slippery when saturated, and strong wind can easily affect balance. A slip from even a single-storey roof can cause serious injury.
Roof surfaces may also conceal hidden hazards such as cracked tiles, loose sheets, soft decking, damaged battens or unstable debris. Ladders set on wet ground or concrete are also more likely to shift. Any inspection or repair that requires roof access should wait until the weather has cleared and a professional can attend.
It can be tempting to cut into the ceiling or remove insulation to “find the source” of the leak. This approach can spread damage and may disturb electrical wiring, light fittings or other services hidden in the ceiling space. Cutting large openings without understanding the structure can also weaken surrounding plasterboard and release saturated insulation or debris into the room.
Limit interior actions to placing containers, gently relieving obvious ceiling bulges and moving belongings out of harm’s way. More invasive investigation should be handled by qualified roofing or building professionals after the storm.
Throwing tarps, plastic sheets or random materials onto the roof from a window or ladder during heavy rain is unsafe and usually ineffective. Improvised covers can be lifted by wind, trap water against the roof surface or redirect water into new areas of the property.
Plastic taped or stapled from inside to the underside of the roof or ceiling can also collect water, then suddenly release and cause a larger collapse. Temporary coverings are best installed by trained personnel in safer conditions using proper fixings and techniques.
Roof leaks during a downpour rarely happen at random. They usually trace back to specific weak points, storm damage or maintenance issues that only become obvious when rain is intense or prolonged. Understanding the most common causes helps identify where water is likely getting in and what should be checked once conditions improve.
Heavy rain tests every part of a roofing system at once. Wind can drive water under loose roof materials, blocked gutters can force water back into roof edges and small gaps around penetrations can allow moisture to track through the ceiling space. In many cases, the problem starts long before the leak becomes visible indoors.
Tiles, metal sheets and roof sheeting form the first line of defence against rain. When they are damaged, loose or worn, heavy rain can quickly exploit the weakness.
On tiled roofs, cracked, slipped or broken tiles can create gaps that allow water to reach the sarking, battens or ceiling space below. If the underlay is torn, aged or poorly lapped, leaks may appear soon after heavy rain begins. Ridge capping can also become a leak source when bedding or pointing cracks and allows water to enter beneath the capping.
On metal roofs, leaks may occur where sheets have lifted, fasteners have loosened, screw seals have deteriorated or corrosion has developed around laps and fixings. Coastal exposure on the Sunshine Coast can accelerate corrosion in some roof components, especially where maintenance has been neglected or incompatible metals have been used.
Age worsens many of these issues. UV exposure, salt air, movement from wind and repeated wet weather can gradually weaken roofing materials, sealants and fasteners until a storm finally exposes the problem.
Flashing is installed around roof features and junctions to direct water away from vulnerable transitions. It is one of the most common sources of roof leaks during storms.
If flashing is corroded, loose, poorly sealed or incorrectly installed, water can slip behind it and travel along the roof structure before appearing inside. Flashing around skylights, chimneys, vents, flues, roof-to-wall junctions and valleys can all fail over time.
Pipe penetrations are another common issue. Rubber boots and seals around vent pipes can crack, shrink or become brittle from sun exposure. During heavy rain, even a small gap around a penetration can allow water into the roof space.
Even a sound roof can leak if water has nowhere to go. Gutters and downpipes are designed to move water off the roof and away from the building. When they are blocked with leaves, moss, palm fronds, sediment or storm debris, water can back up and overflow.
Backed-up water may pool along the lower edge of the roof and spill into fascia boards, soffits or wall cavities. In heavy rain, blocked gutters can make it appear as though the roof itself has failed when the real issue is poor drainage.
Low-slope roof sections, box gutters and internal gutters are particularly vulnerable. If water cannot drain quickly enough, it can pond on the surface and find seams, laps, small punctures or weak areas that remain dry during lighter rain.
Once the rain stops, a professional roofer will carry out a structured inspection to find the exact source of the leak and assess how far the water has travelled. The visible drip inside is often only a symptom. Water can enter several metres away from where it finally appears indoors, so a methodical check inside and outside is essential.
The goal of the inspection is to identify the failure point, understand why it happened and determine whether a local repair or a larger section of work is needed to prevent future leaks.
The roofer will inspect the roof surface for cracked, slipped or missing tiles, loose metal sheets, lifted flashings, damaged ridge capping, rust, impact damage from branches and signs of wind-related movement. On metal roofs, they may check screw fixings, washers, laps, joins and corrosion points. On tiled roofs, they may check broken tiles, valleys, bedding, pointing and sarking where visible.
Flashing receives close attention because it is a frequent leak source. The roofer will inspect flashing around skylights, vents, flues, chimneys, roof edges, parapets and wall junctions. Signs of concern include gaps, cracked sealant, loose fixings, corrosion and areas where water may be tracking behind the flashing instead of flowing away from the roof.
Valleys are also checked for accumulated debris, rusted valley trays, displaced tiles or restrictions in high-flow areas. During heavy rain, any blockage or weakness in a valley can force water under the surrounding roof materials.
Water control at the roof edge is another key focus. The roofer will examine gutters and downpipes for blockages, incorrect fall, leaks at joins, sagging sections and overflow marks on fascia boards. When gutters back up, water can spill over and move into soffits, wall cavities or ceiling spaces, even if the main roof covering is in reasonable condition.
Box gutters, internal gutters and roof drainage outlets may also be checked closely. These areas need to handle large volumes of water during storms, so small blockages, poor fall or undersized drainage can quickly lead to overflow and internal leaks.
All roof penetrations are inspected carefully. This includes plumbing vents, flues, exhaust terminals, antenna brackets, solar mounting points and other fixtures that pass through or attach to the roof surface. The roofer will look for cracked boots, deteriorated seals, missing screws, failed mastic, loose collars and gaps around fixings.
Skylights and roof windows require a detailed inspection of their perimeter flashing, glazing seals and surrounding roof materials. Any staining, soft timber, movement around the frame or water marks nearby may suggest moisture has been entering over time.
From inside the property, the roofer may inspect the ceiling space where access is available and safe. Using a torch, they will look for dark water stains, damp insulation, mould growth, rusted fixings and water marks on rafters, battens or sarking. These signs can help trace the leak back uphill to the actual entry point.
Insulation is checked because wet insulation loses performance and can hold moisture against ceiling materials. Any sagging plasterboard, peeling paint or tide marks on ceilings and upper walls will be compared with the findings on the roof exterior to build a clearer picture of the damage and the repair required.
Responding calmly and safely to a roof leak during heavy rain can make a significant difference to the amount of damage inside the home. Containing water, moving belongings, switching off power where needed and avoiding unsafe roof access are the most important first steps. Once the weather clears, a professional roofer can trace the source of the leak, inspect tiles, metal roofing, flashing, gutters and the roof space, then recommend the right repair.
For Sunshine Coast homes exposed to heavy rain, humidity, coastal air and storm conditions, timely roof repairs and regular maintenance help reduce the risk of repeated leaks and longer-term structural damage. Acting early not only protects the interior of the home during a storm but also helps maintain the roof’s performance through future severe weather.

